
The following example shows how to handle uploading of an image, resize it and save it to a file. Be sure you have enabled the Image module as discussed in getting started guide.
Assuming you are creating a web application that allows your members to upload their profile picture (avatar), the steps below explains it how.
First we need to create a controller that handles the requests for uploading an image. We will name it Controller_Avatar and accessible through /avatar URL. Assuming that your project is located at http://localhost/kohana, then our avatar controller is at http://localhost/kohana/avatar.
For simplicity, the upload form will be on index action and upload action will process the uploaded file. This is what our controller now looks like. Please note that we are not using Controller_Template, just Controller.
<?php defined('SYSPATH') or die('No direct script access.');

class Controller_Avatar extends Controller {

    public function action_index()
    {
        $view = View::factory('avatar/index');
        $this->response->body($view);
    }

    public function action_upload()
    {
        $view = View::factory('avatar/upload');
        $error_message = NULL;
        $filename = NULL;

        if ($this->request->method() == Request::POST)
        {
            if (isset($_FILES['avatar']))
            {
                $filename = $this->_save_image($_FILES['avatar']);
            }
        }

        if ( ! $filename)
        {
            $error_message = 'There was a problem while uploading the image.
                Make sure it is uploaded and must be JPG/PNG/GIF file.';
        }

        $view->uploaded_file = $filename;
        $view->error_message = $error_message;
        $this->response->body($view);
    }

    protected function _save_image($image)
    {
        if (
            ! Upload::valid($image) OR
            ! Upload::not_empty($image) OR
            ! Upload::type($image, array('jpg', 'jpeg', 'png', 'gif')))
        {
            return FALSE;
        }

        $directory = DOCROOT.'uploads/';

        if ($file = Upload::save($image, NULL, $directory))
        {
            $filename = strtolower(Text::random('alnum', 20)).'.jpg';

            Image::factory($file)
                ->resize(200, 200, Image::AUTO)
                ->save($directory.$filename);

            // Delete the temporary file
            unlink($file);

            return $filename;
        }

        return FALSE;
    }

}
We have index and upload actions. index action will display the upload form and upload action will process the uploaded image and provides feedback to the user.
In upload action, it checks if the request method was POST, then delegates the process to _save_image() method which in turn performs various checks and finally resize and save the image to the uploads directory.
For the upload form (the index action), the view is located at views/avatar/index.php.
<html>
    <head>
        <title>Upload Avatar</title>
    </head>
    <body>
        <h1>Upload your avatar</h1>
        <form id="upload-form" action="<?php echo URL::site('avatar/upload') ?>" method="post" enctype="multipart/form-data">
            <p>Choose file:</p>
            <p><input type="file" name="avatar" id="avatar" /></p>
            <p><input type="submit" name="submit" id="submit" value="Upload" /></p>
        </form>
    </body>
</html>
Take note of the action attribute. It points to our avatar/upload action whose view code goes to views/avatar/upload.php.
<html>
    <head>
        <title>Upload Avatar Result</title>
    </head>
    <body>
        <?php if ($uploaded_file): ?>
        <h1>Upload success</h1>
        <p>
            Here is your uploaded avatar:
            <img src="<?php echo URL::site("/uploads/$uploaded_file") ?>" alt="Uploaded avatar" />
        </p>
        <?php else: ?>
        <h1>Something went wrong with the upload</h1>
        <p><?php echo $error_message ?></p>
        <?php endif ?>
    </body>
</html>
When the upload is successfull, a success message is displayed with the uploaded image displayed. Otherwise, when it fails, it displays an error message.
Below are screenshots for this example.
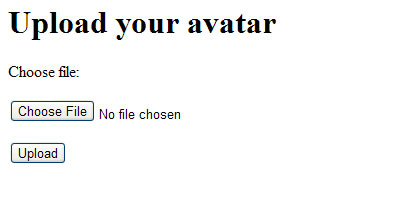
Upload image form
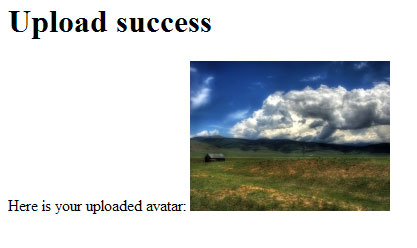
Upload result form